Does your deck no longer inspire joy due to its deteriorated condition? Have you had countless trips or near falls caused by disintegrated or distorted deck boards? Such scenarios may signify that it’s high time to consider changing those planks. As seasons change, deck boards are bound to show signs of damage caused by weather changes and continuous use, leading to a rather unpleasant sight. Aside from being an eyesore, these broken or warped boards pose potential safety risks which could result in accidents. The silver lining is that the process of replacing and repairing deck boards isn’t as complicated or expensive as you might think. It’s a reasonably straightforward task that can effectively transform the overall appearance of your deck. This article aims to equip you with essential insights on deck repair and replacement methods that will help you rejuvenate your outdoor area. The objective is to inspire a fresh perspective on your deck, making it once again an inviting, aesthetically pleasing space where you can enjoy outdoor living.
Understanding the Importance of Regular Deck Maintenance
 Regular deck maintenance is crucial to keep your outdoor space looking its best and to ensure the safety of your family and guests. By inspecting and maintaining your deck on a regular basis, you can catch and address any issues before they become major problems. Regular maintenance also helps to extend the lifespan of your deck boards, saving you time and money in the long run. Simple tasks such as cleaning, sealing, and repairing deck boards can prevent rot, mold, and other forms of damage. Make regular deck maintenance a priority to keep your deck looking beautiful and functional for years to come.
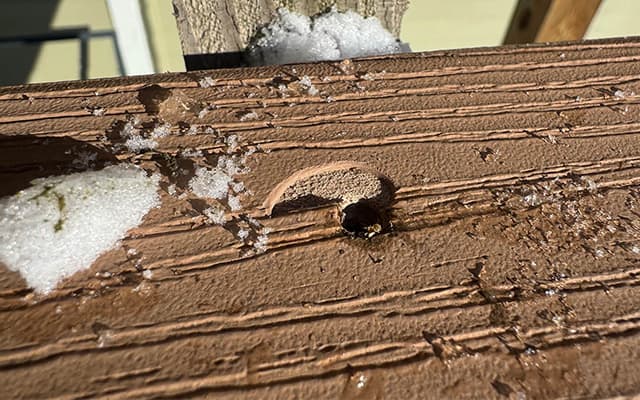
Signs You Need to Replace Deck Boards
Is your deck showing signs of wear and tear? Are your deck boards starting to rot or warp? These are clear indicators that it’s time to replace them. One of the most obvious signs that your deck boards need to be replaced is when they are no longer safe to walk on. If you notice any soft spots, splintering, or loose boards, it’s time to take action. Another sign that it’s time to remove deck boards is if you see significant discoloration, mold, or mildew. These are signs of moisture damage and can lead to further deterioration if not addressed promptly. Don’t wait for accidents or further damage to occur – be proactive and replace deck boards when you see these signs.
Essential Tools and Materials Needed for Deck Board Replacement
To successfully replace deck boards, you’ll need a few essential tools and materials. Here’s a quick list to get you started:
1. Pry Bar or Deck Board Removal Tool: This tool will help you safely and efficiently remove deck boards without damaging the surrounding structure.
2. Power Drill: A power drill with a screwdriver bit will come in handy for removing screws or securing new deck boards.
3. Circular Saw: If you need to cut your new deck boards to size, a circular saw will make the job much easier.
4. Tape Measure: Accurate measurements are crucial when replacing deck boards, so a tape measure is a must-have.
5. Replacement Deck Boards: Of course, you’ll need new deck boards to replace the old ones. Choose high-quality, rot-resistant boards for long-lasting results.
6. Deck Screws: Make sure you have enough deck screws to secure the new boards to the joists.
With these essential tools and materials, you’ll be well-equipped to tackle your deck board replacement project and give your deck a fresh new look.
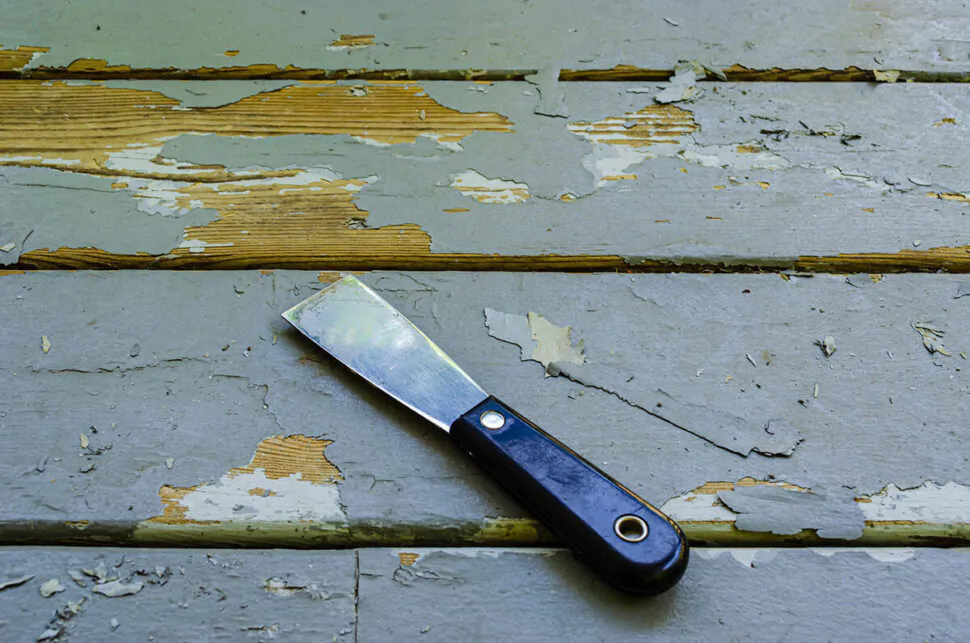
Quick Fixes for Minor Deck Damage
If you’re dealing with minor deck damage, don’t worry! There are quick fixes that can help you restore your deck’s beauty and functionality. For small cracks or splits in the wood, you can use wood filler to fill in the gaps and sand it down for a smooth finish. If you notice loose screws or nails, simply tighten them or replace them if necessary. For minor discoloration or stains, you can use a deck cleaner or bleach solution to restore the original color. These quick fixes can help you address minor deck damage and keep your outdoor space looking great.
Step-by-Step Guide to Replacing Deck Boards

Ready to give your deck a fresh new look? Follow this step-by-step guide to replacing your deck boards. To begin, get a pry bar or a specific deck board removal tool to ensure safe and effective removal of the old, worn-out boards. Once they are out of the way, it’s time to measure the deck area and cut your brand-new boards to fit perfectly using a reliable circular saw. Upon trimming, arrange them over the joists, fasten using deck screws and a power drill, ensuring each is secure and firm. This way, they’ll last for years to come. Finally, repeat this process for all the boards until your deck is complete. With these simple steps, you’ll have a beautiful, rejuvenated deck in no time. Happy renovating!
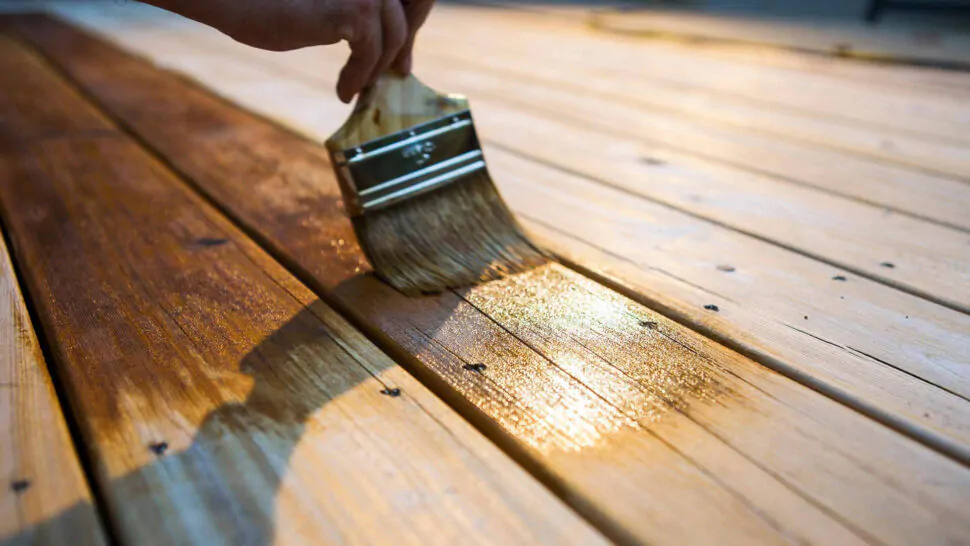
How to Prevent Future Deck Damages
Preventing future deck damages is key to maintaining a beautiful and functional outdoor space. Here are some tips to help you keep your deck in great condition. First, make sure to regularly clean your deck and remove any debris or leaves that can trap moisture and lead to rotted boards. Applying a protective sealant every year or two can also help to prevent water damage. Additionally, be mindful of how you use your deck and avoid placing heavy objects or furniture in one spot for extended periods of time to prevent uneven wear and stress on the boards. Finally, keep an eye out for signs of damage and address them promptly to avoid further issues. By following these simple steps, you can enjoy a beautiful and long-lasting deck for years to come.