Are you tired of your outdoor underdeck space being unusable during rainy days? With the Trex Rain Escape system, you can keep your underdeck area dry and create a functional outdoor living space. This innovative system is designed to channel water away from your deck, allowing you to enjoy your outdoor space even when it’s raining. In this blog post, we will discuss how to install underdecking with the Trex Rain Escape system, ensuring that your deck stays dry no matter the weather.
Understanding the Trex Rain Escape System
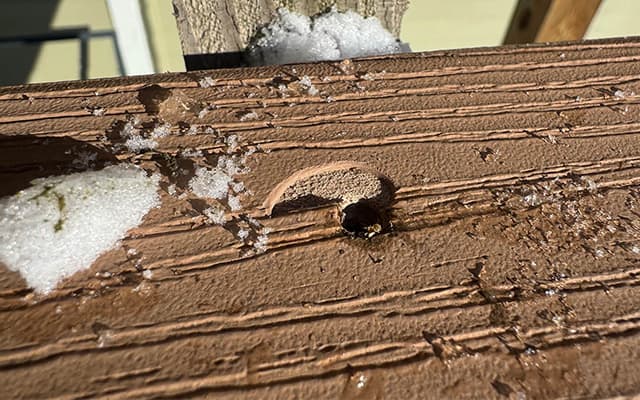
The Trex Rain Escape system offers an effective solution for keeping the area under your deck dry by diverting water away from it. It is ingeniously designed to fit between deck joists, utilizing a series of troughs and downspouts to efficiently channel water out and away from your deck. This system ensures that rainwater does not compromise the usability of your underdeck space. Compatible with a wide range of decking materials, including both wood and composites, the Trex Rain Escape system is adaptable to virtually any decking project. Its versatility and ease of installation make it a popular choice among homeowners looking to enhance their outdoor living spaces without worrying about the weather. By transforming previously wet, unusable areas into dry, comfortable outdoor living spaces, the Trex Rain Escape system adds value and functionality to your home.
Planning and Preparing for Installation
Embarking on the installation journey requires a bit of groundwork to ensure a seamless process. Initially, accurate measurements of your deck area are crucial for determining the quantity of materials, such as troughs and downspouts, needed for the project. Opting for the correct sizes and additional elements like flashing and tape is vital for the system’s efficiency.
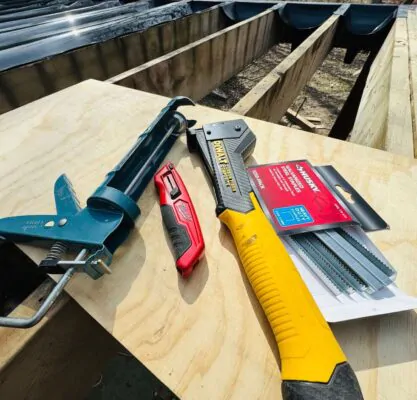
Gathering your toolkit is the next step; arm yourself with essentials like a hammer tacker, saw, tape measure, knife. These tools will be indispensable throughout the installation. Additionally, having an extra pair of hands can significantly ease the process, so consider roping in a friend or family member to help.
Diligently adhering to the manufacturer’s guidelines is paramount. These instructions are your roadmap to a successful installation, guiding you through each step with precision. This preparation phase lays the foundation for a straightforward installation, ensuring that your decking project is executed without a hitch, paving the way for a dry and enjoyable outdoor space.
Step-by-Step Installation Guide

Start with securing the 2×4 pt pressure treated boards every 4 feet from the ledger board across all width of the deck’s underneath joists to make sure that all joists are secured and not shaking during installation. Following the Trex Rain Escape system’s specifications, set the trough at the recommended width to ensure the integrity of the installation.
First of all affix the downspouts at the places where troughs will terminate, directing the water away from your deck area. These downspouts should be firmly connected and sealed to ensure they efficiently channel water out of the system. Then procceed to measure and trim the troughs to the precise length required for your deck, and fix them onto the joists with the staples and hammer tracker. It’s crucial to establish a slight slope on the troughs to facilitate effective water drainage.
Incorporate any extra elements like flashing and sealing tape as directed to achieve a comprehensive seal against water intrusion. This step is essential for the longevity and performance of your underdeck system.
To verify the installation’s success, conduct a water test. Pour water over the deck to simulate rain and observe how it navigates through the troughs and exits via the downspouts. This test is critical to ensure that the system will perform as expected during actual weather conditions, keeping your underdeck area dry and usable regardless of the weather.
Tips and Tricks for a Successful Installation

To ensure your Trex Rain Escape system is installed flawlessly, here are several pieces of advice to consider during the process. One key factor is not to rush. While the excitement to finish might be tempting, taking your time will yield better results. Each step, from measuring to stapling, should be done with care and accuracy.
Sealing is critical for preventing any water from sneaking through unintended spaces. Make sure to apply the sealing tape and butyl cauld generously at all seams and connections as per the installation guide. This ensures a watertight seal, safeguarding the underdeck area from water damage.
Lastly, while the installation is a DIY project for many, recognizing when professional help might be needed is important. If at any point the installation process seems overwhelming, reaching out to a professional installer can save time and potential complications. Their expertise can provide peace of mind and guarantee that your system is set up correctly for optimal performance. Following these strategies can significantly contribute to the success of your Trex Rain Escape system installation.
Maintaining Your Trex Rain Escape System
To ensure the ongoing performance of your Trex Rain Escape system, regular maintenance is key. Conduct periodic inspections to look for any signs of obstruction or damage within the system. It’s essential to keep the troughs and downspouts free from debris, such as leaves or twigs, which could hinder water flow. If you notice any accumulation, remove it promptly to prevent clogging. Additionally, assess the integrity of the system, especially after severe weather conditions, to identify any areas that may require repair or replacement. A proactive approach to maintenance not only extends the lifespan of your Trex Rain Escape system but also guarantees that your underdeck area remains dry and enjoyable, no matter the season. Remember, a well-maintained system is the cornerstone of a fully functional and dry outdoor living space.